
As a car enthusiast, I take pride in keeping my ride looking its best. But after months of driving around with friends and family, the interior inevitably becomes cluttered and dirty. That’s when it’s time for some serious cleaning – or as we call it in the industry: car detailing.
Before diving into any deep-cleaning tasks, there are a few things you need to know about pre-cleaning your vehicle. First and foremost, remove all loose items from your car such as trash or personal belongings that may have accumulated over time.
Once everything is cleared out, start by vacuuming every inch of your interior – this includes floors mats, carpeting under seats and hard-to-reach areas like between seat cushions. Vacuuming is essential before moving on to cleaning hard surfaces because dust particles can easily spread if not properly removed first.
When tackling those tough spots on plastic panels or leather upholstery remember less is more; use small amounts of cleaner at a time so you don’t damage delicate materials. Invest in microfiber cloths which will help gently lift dirt without scratching surfaces while also being easy to wash afterwards.
Cleaning carpets requires special attention since they tend to hold onto stains longer than other parts of the cabin area.To clean these areas effectively invest in specialized carpet cleaners followed up by regular steam cleaning sessions
Finally finishing touches include air fresheners designed specifically for vehicles (not just masking smells), polishing chrome trim pieces using wax,and adding protective film coatings where possible.
In conclusion,paying close attention towards each aspect mentioned above alongwith taking proper precautions would surely get rid off any grime,stains & make one feel good riding inside their sparkling interiors again!
Pre-Cleaning: What You Need to Know
Before diving into interior car cleaning, it’s important to prep the vehicle properly. This involves removing all personal belongings and trash from the car. It may seem like a no-brainer, but having a clutter-free space allows for better access to hard-to-reach areas during the detailing process.
Next, make sure that all surfaces are free of debris such as sand or dirt. This can be done by using compressed air or simply wiping down with a microfiber cloth. Failing to remove this loose debris prior to vacuuming will result in particles being blown around inside your vehicle – making it harder and more time-consuming when trying to achieve those pristine results.
Lastly, inspect every surface closely including carpets and upholstery for any visible stains before you begin detailed cleaning tasks such as shampooing seats or scrubbing floor mats.
By taking these pre-cleaning steps seriously you ensure effective outcomes from your labor-intensive car detailing efforts while also preventing additional messes later on in the process.
With everything cleared away completely cleaned now comes time for step one: vacuuming!
Vacuuming: The First Step to Cleaning
Vacuuming: The First Step to Cleaning
Before diving into car detailing, it’s important to start with the basics – vacuuming. Vacuuming is a crucial first step in cleaning your car’s interior as it helps remove loose debris and dirt from hard-to-reach areas. When vacuuming, make sure you use attachments such as crevice tools and upholstery brushes for more efficient cleaning.
One tip is to start at the top of your vehicle (e.g., headliner) and work your way down towards the floor mats. This ensures that any dust or debris falling off higher surfaces will be captured by lower ones instead of settling back onto already cleaned areas.
Another helpful hint when vacuuming is to move seats forward/backward or tilt them up/down so you can access hidden spots underneath them where crumbs tend to accumulate over time.
Overall, regular vacuuming extends the lifespan of your car’s interior while making subsequent deep-cleaning tasks easier and less time-consuming. With this critical initial step out of the way, let’s explore tips on how best to tackle those challenging hard surfaces next!
Cleaning Hard Surfaces: Tips and Tricks
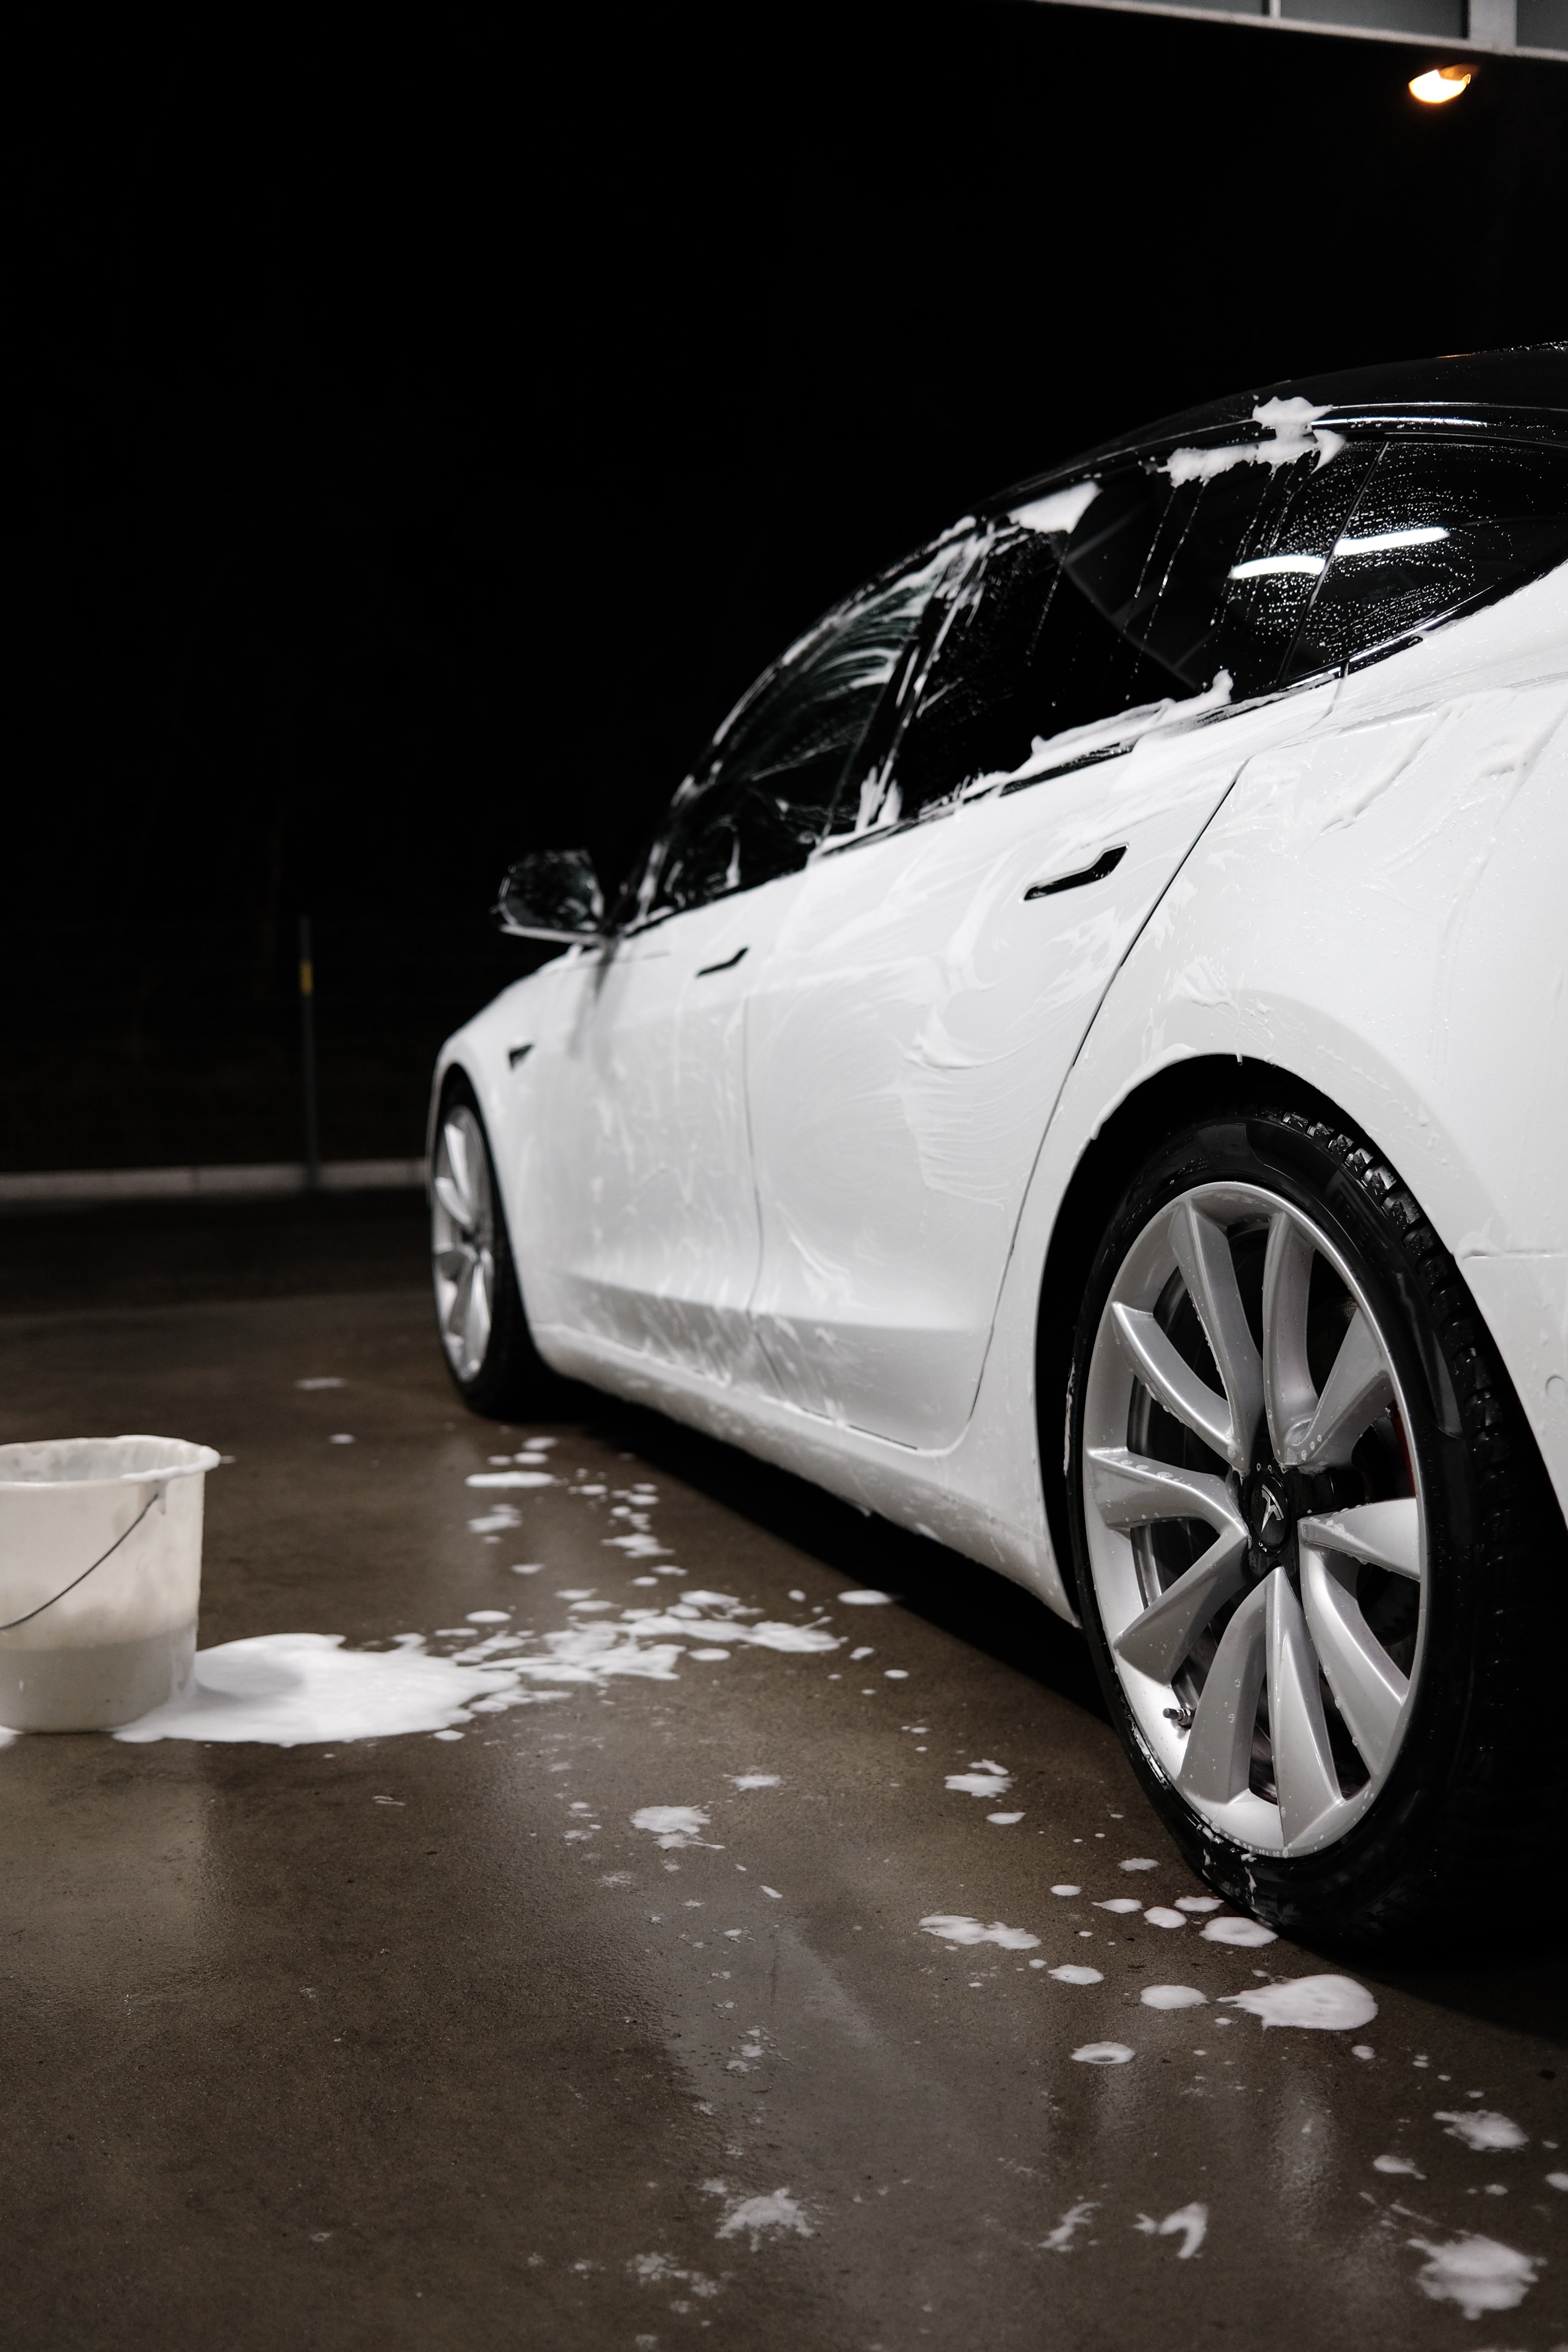
Image Credit: 9OvGzW8xzis
Cleaning Hard Surfaces: Tips and Tricks
When it comes to car detailing, cleaning hard surfaces is a crucial step in achieving that fresh and renewed look. One of the key tips to keep in mind is to start with dry cleaning methods before using any liquids or chemicals. A good old-fashioned dusting cloth can go a long way in removing debris from dashboard panels, center consoles, and door handles.
For tougher stains or grime buildup, there are specialized interior cleaners available on the market specifically designed for automotive use. These products come in various forms such as sprays or wipes and work well on materials like plastic, vinyl, leatherette and metal surfaces.
Another trick when tackling hard surface areas is to use soft-bristled brushes for scrubbing away dirt without causing damage to delicate components. Microfiber towels also prove useful as they are gentle yet effective at picking up remaining residue after initial cleaning steps have been taken.
With these simple tips and tricks under your belt, you’ll be able to remove even stubborn stains while preserving your vehicle’s finish. Next up: Cleaning Upholstery and Carpeting!
Cleaning Upholstery and Carpeting
Cleaning upholstery and carpeting is an essential part of car detailing that can make a significant difference in the overall appearance and smell of your vehicle. Before starting, it’s important to remove any trash or debris from the interior.
To begin cleaning, use a vacuum with an upholstery attachment to thoroughly clean all fabric surfaces. This will help remove dust, dirt, and other particles embedded deep within the fibers. For tougher stains such as coffee spills or pet accidents, use a specialized cleaner designed for automotive interiors.
When selecting products for cleaning upholstery and carpeting be sure you read labels carefully to ensure they are safe for your specific type of fabric material. Additionally some cleaners may need time to soak into tough stains before scrubbing away at them so patience is key when tackling stubborn spots.
After applying cleaner let it sit on surface for about 15 minutes (or per instructions) then using hot water rinse area with cloth removing excess moisture until dry enough where no more product comes off onto cloth during blotting process..
Once everything has dried completely you should notice that not only do these areas look much better but also have less odor than prior which makes driving even more enjoyable!
With this step complete move onward towards “Finishing Touches: Making Your Car Shine” by moving onto wiping down dashboard/console area followed up by glass care both inside/outside windows utilizing microfiber towels ensuring streak free shine!
Finishing Touches: Making Your Car Shine
After going through the various steps of pre-cleaning, vacuuming, cleaning hard surfaces, and cleaning upholstery and carpeting, it’s time for the finishing touches that will make your car shine. These extra steps will not only make your car look great but also improve its overall condition.
Firstly, focus on the windows. Clean them thoroughly with a glass cleaner and a microfiber cloth. Make sure to clean both sides of the windshield and all the other windows. This will not only make your car look better but also improve your visibility while driving.
Next, give the dashboard and other plastic surfaces a shine by using a vinyl protectant. Apply it to the surfaces, spread it evenly with a sponge or cloth, and then wipe off any excess. This will help protect the surfaces from UV damage and keep them looking new.
Another important finishing touch is to deodorize your car. After cleaning the carpets and upholstery, it’s a good idea to spray an odor eliminator to get rid of any lingering smells. You can also place an air freshener in the car to keep it smelling fresh.
One final step to make your car shine is to wax the exterior. This will give your car a glossy finish and protect the paint from scratches and UV damage. Apply the wax with a soft cloth or foam applicator, let it dry, and then buff it off with a clean towel.
In conclusion, cleaning the interior of your car is not just about making it look good, but also about maintaining its condition. By following the steps of pre-cleaning, vacuuming, cleaning hard surfaces, and cleaning upholstery and carpeting, and finishing touches, you can ensure that your car stays in top condition for years to come. Not only will it look great, but it will also improve your driving experience and make you feel proud of your vehicle. So, take some time to give your car the attention it deserves, and enjoy the benefits of a clean and well-maintained vehicle.
Sources:
https://www.gregsautodetailing.ca/
https://www.canadacardetailing.com/
https://carzilla.ca/
