
I remember the first time I attempted to give my car a thorough wash and polish. I thought it was going well until I stepped back and noticed the swirl marks all over the paintwork. It was frustrating, but also an opportunity to learn about DIY paint correction techniques.
Preparing your vehicle for paint correction is crucial in achieving optimal results. This involves thoroughly washing, drying and decontaminating your car’s surface before beginning any polishing or buffing process.
Swirl marks are circular scratches that appear on painted surfaces due to improper cleaning techniques or contact with abrasive materials such as dirt particles. Scratches can occur from everyday wear-and-tear or accidental damage caused by objects like keys or shopping carts.
Selecting the right tools for paint correction depends on various factors including severity of damage, type of finish, and personal preferences. Commonly used tools include dual-action orbital polishers, foam pads and microfiber towels.
A step-by-step guide for DIY paint correction includes assessing the condition of your vehicle’s exterior using proper lighting conditions; testing products on small areas before applying them extensively; starting with less aggressive compounds/pads before moving onto more aggressive ones if needed; refining/polishing after completing compound stages etc.
Finally finishing touches such as waxing/sealing should be applied once you have achieved desired results! Car detailing requires patience & attention-to-detail which can ensure showroom shine at home without breaking bank accounts 🙂
Preparing the Vehicle for Paint Correction
Before diving into the actual paint correction process, it is essential to ensure that the vehicle’s exterior is clean and free of any dirt or debris. This step cannot be skipped as contaminants on the surface can cause further damage during car detailing.
Start by washing your car thoroughly using a high-quality soap and microfiber wash mitt to prevent scratches. Rinse off all soap residue with water before drying the vehicle with a soft towel or chamois cloth.
Next, use a clay bar kit to remove any embedded particles from the clear coat such as tree sap, tar, or industrial fallout that may not have been removed through regular washing alone. The clay bar will gently lift these impurities without damaging your paint job.
After claying your car’s exterior properly, inspect for visible swirl marks and scratches which are commonly caused by improper washing techniques like using harsh brushes instead of sponges or towels when cleaning up dust from surfaces in between layers of wax protection.
In conclusion, preparing your vehicle correctly for paint correction is crucial if you want successful results after performing DIY painting correction techniques. In this stage of preparation lies one key factor that must be followed strictly: attention to detail! Once done right there should be no room left for errors hence making sure every corner has been inspected carefully so nothing gets overlooked during future steps towards perfecting its finish!
Understanding Swirl Marks and Scratches will help you identify what causes them in order to avoid those mistakes while also giving insight into how best they can be repaired depending on their severity level; stay tuned for more information about this topic in our next section!
Understanding Swirl Marks and Scratches
Understanding Swirl Marks and Scratches
Swirl marks and scratches are common problems that car owners face. They can make your vehicle look dull, old, and unattractive. These imperfections are caused by a variety of factors such as poor washing techniques, the use of abrasive products during car detailing or even minor accidents.
Swirl marks appear on the surface of the paintwork due to circular abrasions created by improper polishing techniques. On the other hand, scratches refer to any damage that penetrates through the clear coat layer into the base color layer or primer underneath it.
It is important to note that not all swirls are visible under direct sunlight but they can be seen in bright light conditions like parking lots with fluorescent lighting. Also, some types of lighting may accentuate their appearance making them more noticeable than others.
In order to effectively remove these imperfections from your vehicle’s paintwork you need an understanding of what causes them in addition to selecting suitable tools for correction which we will cover next: “Selecting The Right Tools For Paint Correction”.
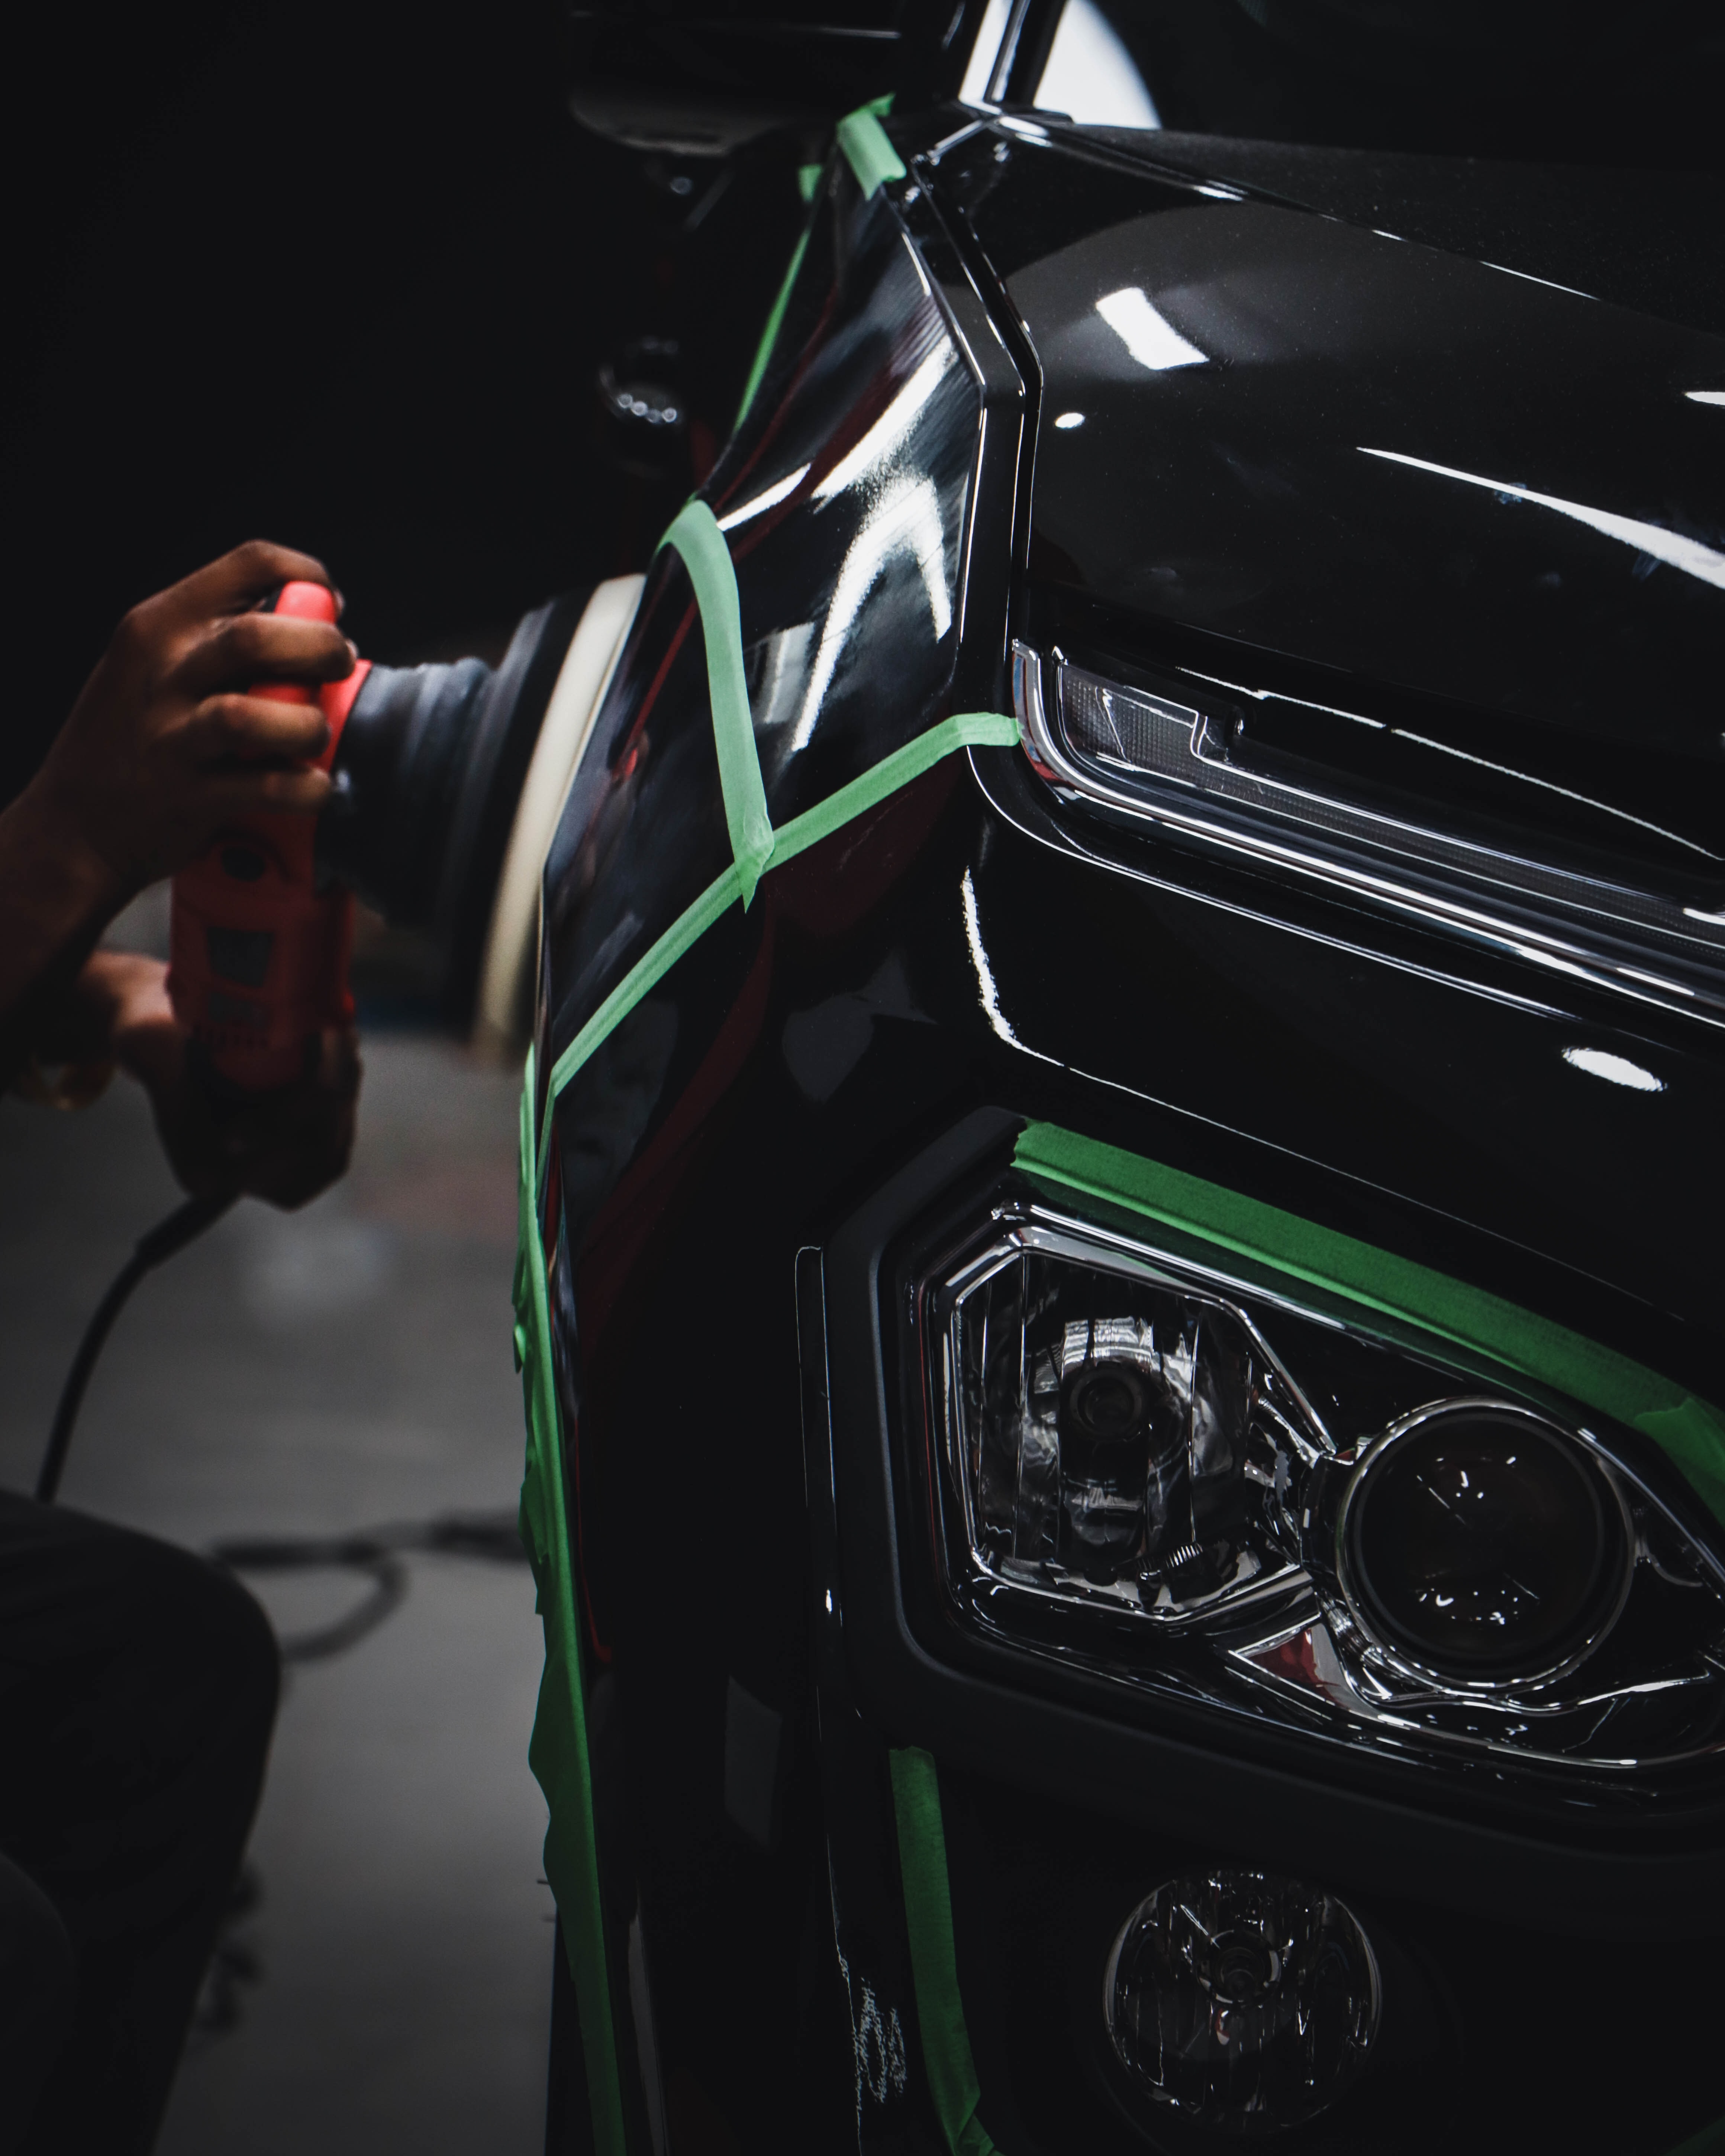
Image Credit: m8JQgb-FdFc
Selecting the Right Tools for Paint Correction
When it comes to paint correction, selecting the right tools can make all the difference. The first thing you’ll need is a dual-action polisher. These are easy to use and won’t cause damage to your vehicle’s paint if used correctly.
Next, you’ll want to choose the correct polishing pads for your specific needs. There are foam and microfiber options available in varying levels of aggressiveness depending on how severe your swirl marks or scratches may be.
It’s also important to select a high-quality polish that will effectively remove imperfections without causing further damage. Look for products specifically designed for car detailing purposes.
Lastly, don’t forget about safety gear such as gloves and eye protection when working with these tools and chemicals.
With the right tools in hand, DIY paint correction can be an achievable task for any car enthusiast willing to put in some elbow grease. In the next section, we will provide a step-by-step guide on how best to approach this process so that you achieve professional results at home!
Step-by-Step Guide to DIY Paint Correction
A step-by-step guide to DIY paint correction can help car enthusiasts achieve a professional finish at home. To begin, wash the vehicle thoroughly and clay bar the surface to remove any contaminants before starting with the actual paint correction process. Next, choose an appropriate compound according to the severity of scratches or swirl marks on your car’s exterior.
Apply small amounts of compound onto a foam pad and spread it evenly over one panel at a time using medium pressure, working in circular motions until you see improvement in surface defects. Repeat this process till all panels are complete.
Afterward, use polish to restore shine by applying it again via foam pads but with less pressure than when using compounds. The final stage is waxing which provides protection against environmental factors such as UV rays that could damage your car’s appearance if left untreated.
Once completed correctly, these steps leave behind an almost perfect finish similar to what you would receive from professionals during car detailing services without spending too much money on their services.
Finishing Touches for showroom Shine will be discussed later in this blog post where we’ll go into detail about how owners can add finishing touches after completing basic level paint corrections themselves!
Finishing Touches for a Showroom Shine
After putting in the time and effort to correct the swirl marks and scratches on your vehicle’s paint, you’ll want to finish with some final touches to achieve that showroom shine. These steps may seem small, but they can make a big difference in the final result.
Firstly, it’s important to thoroughly clean the surface of the vehicle to remove any remaining debris or residue. This can be done with a detailing spray and a microfiber towel. Next, apply a high-quality wax or sealant to protect the newly corrected paint and add depth and shine. Be sure to choose a product that is appropriate for your vehicle’s paint type.
Another crucial step is to properly detail the tires and wheels. This can be done with a tire shine or wheel cleaner, depending on the type of material. Don’t forget to clean the windows and mirrors for a crystal-clear finish.
Lastly, take a step back and admire your hard work! DIY paint correction can be a time-consuming and meticulous process, but the end result is worth it. Remember to maintain your vehicle’s newly corrected paint by regularly washing and waxing it, and being cautious when parking or driving in rough terrain.
In conclusion, preparing your vehicle for paint correction, understanding swirl marks and scratches, selecting the right tools, and following a step-by-step guide are all crucial elements to achieving a flawless finish. However, the finishing touches, such as cleaning the surface, applying wax or sealant, detailing the tires and wheels, and admiring your hard work, are what truly make the difference. With these tips and techniques, you can achieve a showroom shine on your own and enjoy your vehicle’s new and improved appearance.
Sources:
https://www.mississaugacardetailing.ca/
https://www.canadacardetailing.com/
https://www.gregsautodetailing.ca/
