
As a car enthusiast, I always want to keep my ride in top-notch condition. One of the things that often gets overlooked is leather seats maintenance. Over time, these surfaces can become dry and cracked if not properly cared for.
That’s why I decided to dive into DIY leather conditioning techniques – an affordable way of maintaining your car’s interior without having to go through expensive car detailing services regularly.
The benefits are numerous; you save money on professional cleaning services while extending the life span of your vehicle’s upholstery by keeping it hydrated and soft with natural oils.
To get started with this task, you will need some tools such as a microfiber cloth or sponge applicator pad along with materials like beeswax, lanolin oil or mink oil – all easily available online or at automotive stores near you.
In this article, we’ll provide step-by-step guidance on how best to use these products for maximum effectiveness when treating different types of leathers used within cars today… So whether its Nappa Leather found in luxury vehicles or more rugged Cowhide from trucks – We’ve got tips tailored just for them!
Introduction to DIY Leather Conditioning
When it comes to car detailing, one often overlooked aspect is leather conditioning. Leather seats can crack and fade over time if not properly maintained. Fortunately, DIY leather conditioning techniques are easy to master and can be done right at home.
Before getting started on any DIY project, it’s important to have the proper materials on hand. For leather conditioning, a high-quality conditioner specifically designed for automotive upholstery should be used. Additionally, a microfiber cloth or applicator pad will help ensure an even application of the conditioner.
Once all necessary materials are gathered, start by cleaning the surface of the seats with a gentle cleaner made for use on leather. After they have been thoroughly cleaned and dried completely using another clean dry towel or rag then apply your chosen conditioner in circular motions making sure that you cover every inch of your seat’s surface area.
By regularly performing these simple steps as part of your car detailing routine,you’ll extend the life of your vehicle’s interior while maintaining its beauty.When you condition them yourself,it helps save money,and also gives some satisfaction knowing that you did something great which ultimately helped preserve their newness.Benefits like this make learning how to do-it-yourself well worth it!
Benefits of DIY Leather Conditioning
One of the main benefits of DIY leather conditioning is cost-effectiveness. Professional car detailing services can be expensive, and many people opt for doing it themselves to save money. By using readily available materials at home, such as olive oil or beeswax, individuals can achieve similar results without breaking the bank.
Another advantage of DIY leather conditioning is customization. Many commercial products contain chemicals that may not be suitable for all types of leather seats or personal preferences. With a homemade solution, one has the freedom to tailor their conditioner according to their specific needs.
DIY enthusiasts also appreciate the sense of accomplishment that comes with completing a project on their own. Conditioning your own leather seats provides an opportunity to learn new skills and take pride in maintaining your vehicle’s interior.
In addition to these benefits, there are health advantages associated with making your own conditioner instead of purchasing commercial products containing harsh chemicals that could cause skin irritation or respiratory problems during application.
To begin this process properly though requires certain tools and materials which will need some investment upfront but ultimately lead towards savings down the road when you don’t have pay for costly car detailing services again anytime soon!
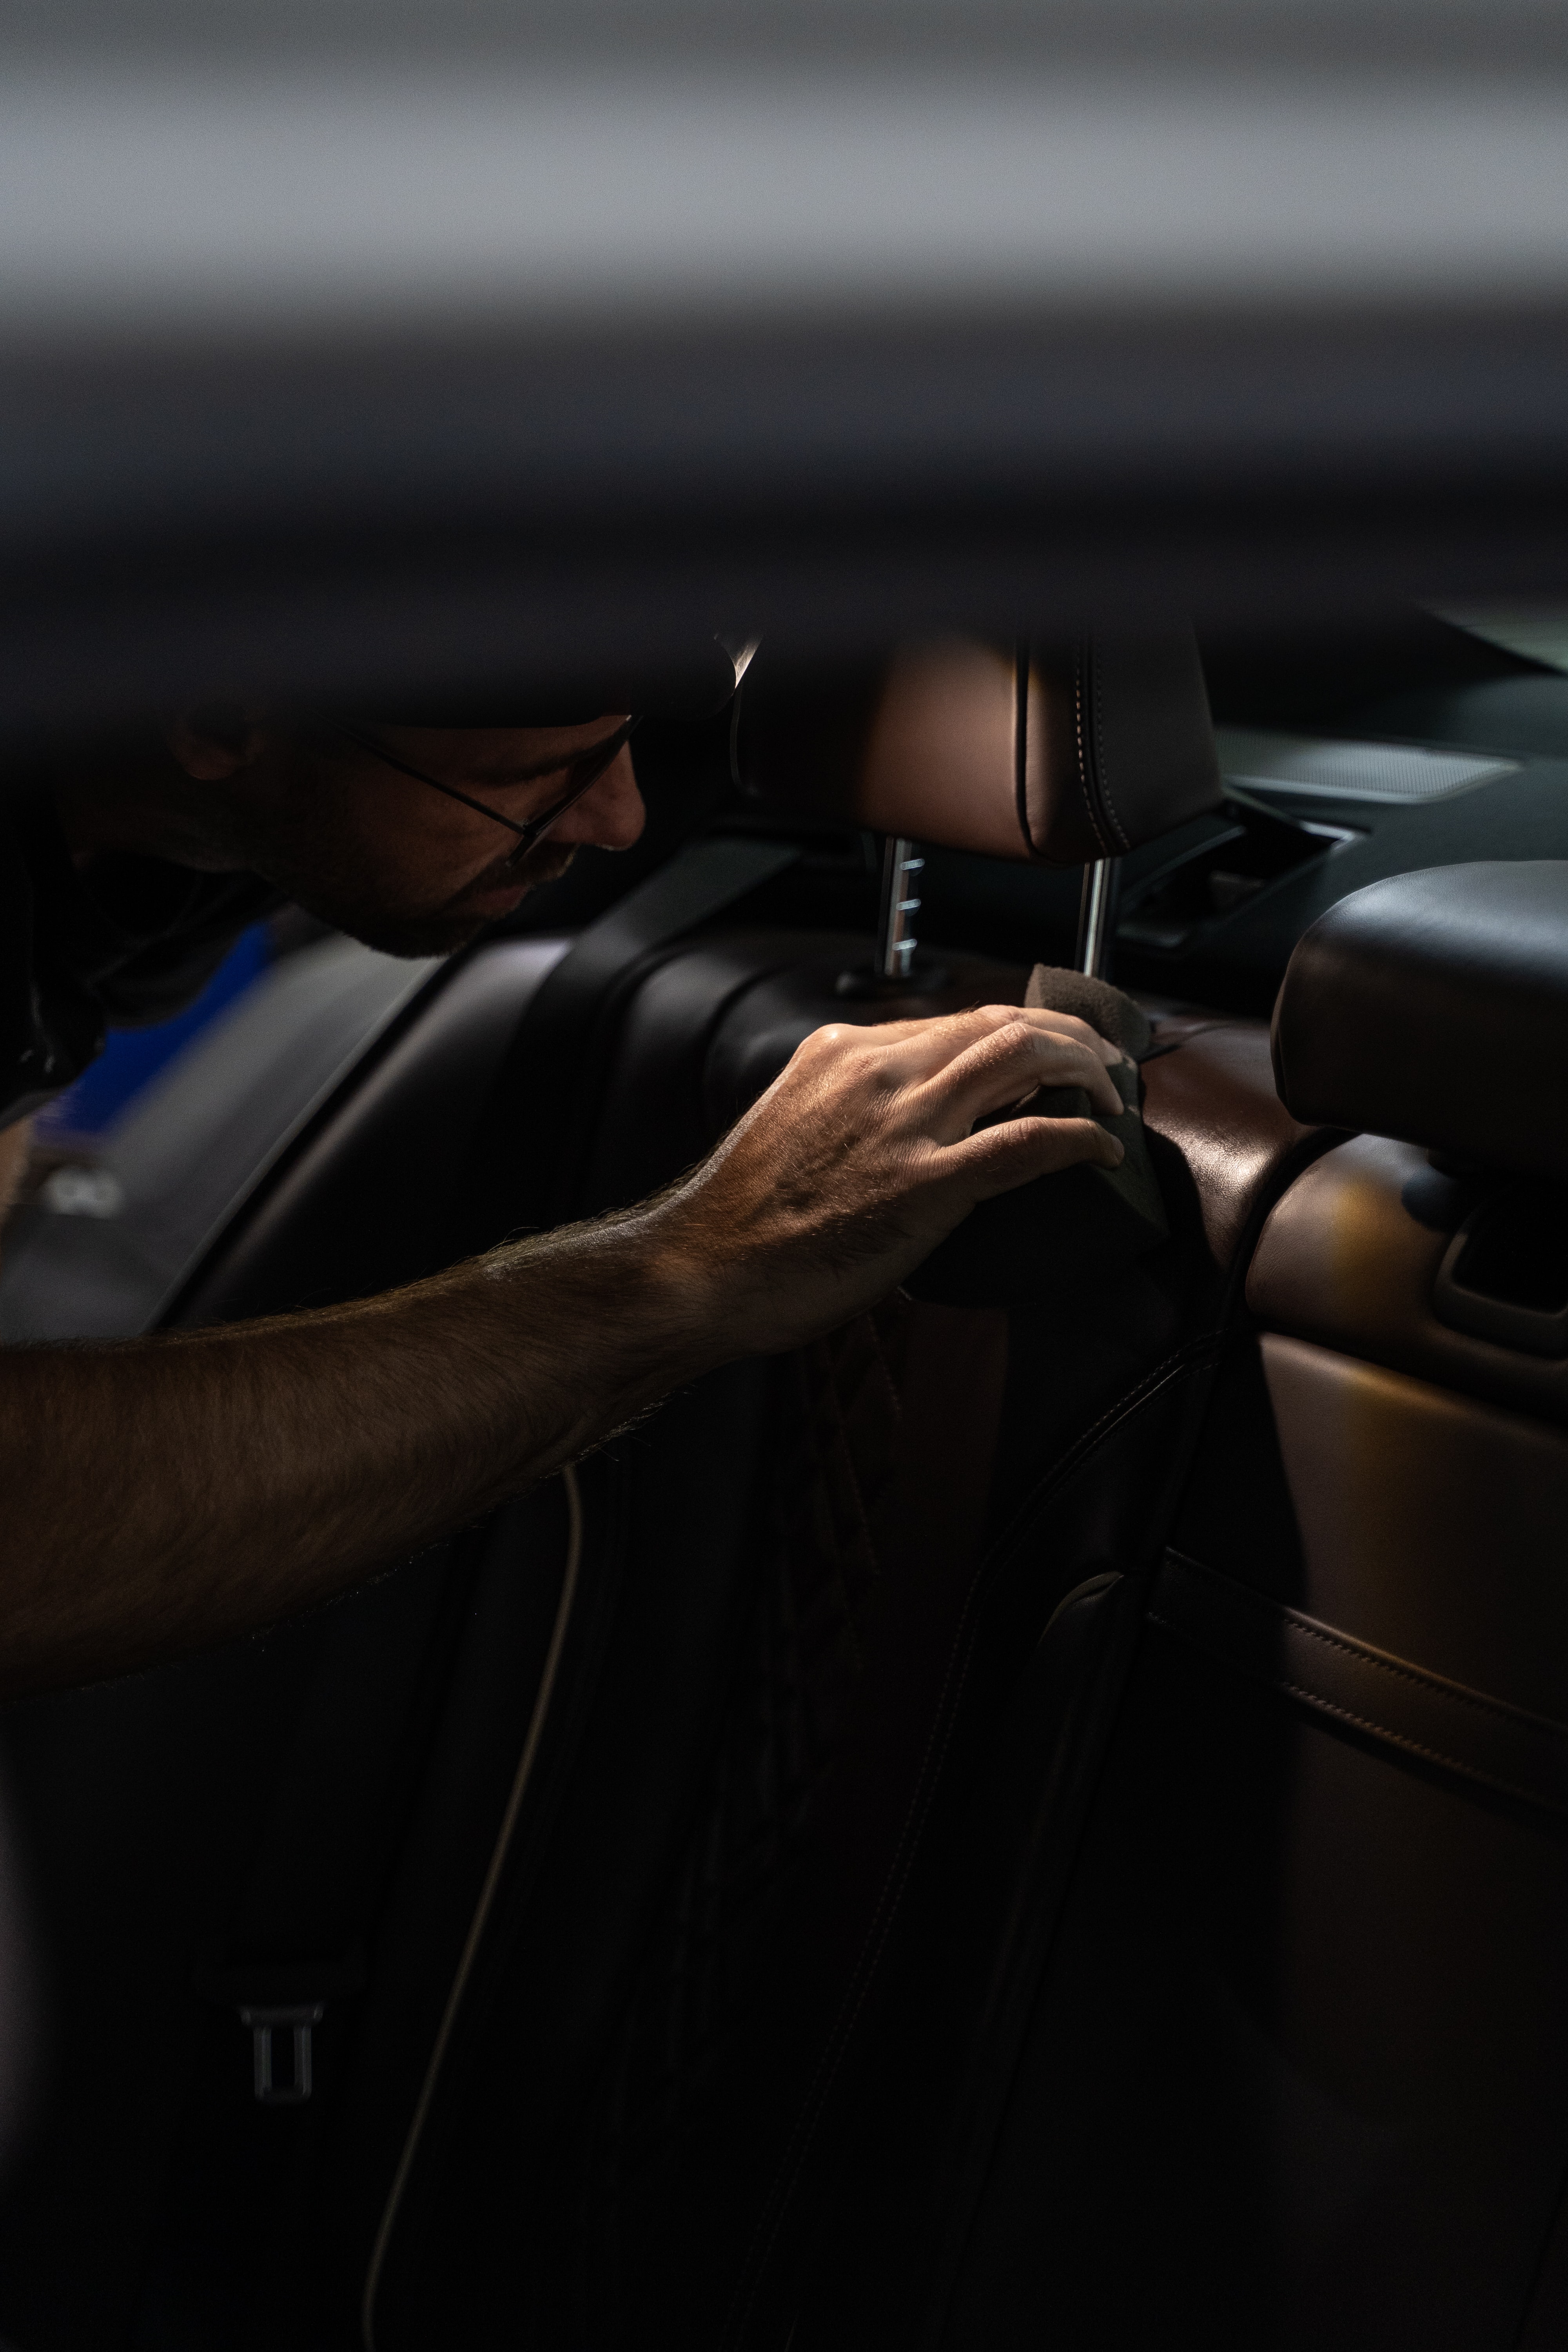
Image Credit: g4acXxciMOw
Tools and Materials Needed for DIY Leather Conditioning
Before starting the DIY leather conditioning process, it is important to gather all necessary tools and materials. The first item on the list should be a high-quality leather conditioner that suits your specific type of leather. Other essential items include a soft-bristled brush or cloth for cleaning any dirt or debris from the surface, gloves to protect your hands during application, and a microfiber towel for wiping off excess conditioner.
It is also recommended to have an open space with good ventilation when conducting car detailing tasks such as this one because some products may produce fumes which could cause discomfort while working indoors.
In addition to these basic materials, there are other optional tools that can enhance the effectiveness of your conditioning efforts. For example, you might want to invest in a specialized applicator sponge or pad if you plan on carrying out regular maintenance on multiple pieces of furniture or accessories made from different types of leather.
Overall, having all necessary equipment at hand will help ensure that your DIY leather-conditioning project goes smoothly without any hiccups along the way. With these tips in mind let’s move onto our next topic- Step-by-Step Guide for DIY Leather Conditioning!
Step-by-Step Guide for DIY Leather Conditioning
Step-by-Step Guide for DIY Leather Conditioning
Leather seats can add a touch of class and luxury to any car. However, with regular use, leather seats can become dried out and cracked if not properly cared for. This is where DIY leather conditioning comes in handy.
Here’s a step-by-step guide on how to condition your leather seats at home:
1. Clean the Seats: Before conditioning your leather seats, it’s important to clean them thoroughly using an appropriate cleaner or soap designed specifically for cleaning car interiors.
2. Apply Conditioner: Once the seats have been cleaned and are completely dry, apply a small amount of conditioner onto a soft cloth or sponge and gently rub it into the surface of the seat until fully absorbed.
3. Let It Rest: Allow the conditioner enough time (usually around 10-15 minutes) to soak into your leather before wiping off any excess product with another clean cloth.
4. Buffing Process: After removing all traces of excess formula from both surfaces as well as crevices such as seams that could collect dirt; buff both sides carefully by rubbing each area vigorously in circular motions using another lint-free towel – this will help restore its natural sheen while ensuring maximum absorption rate effectiveness during future applications too!
By following these simple steps regularly you won’t even need professional car detailing anymore! Your vehicle’s interior will stay looking fresh without breaking bank accounts along with giving peace-of-mind knowing they’re being taken care of properly.
Tips for DIY Leather Conditioning Car Seats
Now that you know how easy it is to condition your own leather car upholsteries here are some tips that might come useful next time:
-Lookout For Tears & Holes
-Avoid Using Harsh Chemicals
-Provide Adequate Ventilation During Cleaning
Tips for DIY Leather Conditioning of Car Seats
Leather car seats are an elegant and luxurious addition to any vehicle. However, over time, they can become dry, cracked, and faded due to exposure to sunlight, heat, and dirt. To prevent this, regular conditioning is necessary to keep the leather soft, supple, and looking its best. In this blog, we have discussed the benefits of DIY leather conditioning, tools and materials needed for the conditioning process, step-by-step guide, and tips for conditioning your car seats.
When it comes to conditioning your leather car seats, DIY is the way to go. It is cost-effective, and you can personalize the process to suit your preferences. Some of the benefits of DIY leather conditioning include the ability to control the quality of products used, ensuring that they are environmentally friendly and safe for use. Moreover, you can tailor the process to meet your specific needs and tastes.
To get started with DIY leather conditioning, you will need some tools and materials. These include a vacuum cleaner, leather cleaner, leather conditioner, soft-bristled brush, microfiber cloth, and gloves. Once you have these items, you can follow a step-by-step guide to condition your car seats.
The first step is to vacuum the seats to remove any dirt or debris that could scratch the leather during the conditioning process. Next, use a leather cleaner to wipe the seats down, removing any stains or dirt. After cleaning, take a small amount of leather conditioner and apply it to the seats using a soft-bristled brush. Leave the conditioner to dry for a few hours, then buff the seats with a microfiber cloth to remove any excess product.
Finally, here are some tips to help you achieve the best results when conditioning your car seats. Always test any product on a small, inconspicuous area first to ensure that it does not damage the leather. Avoid using harsh chemicals or abrasive materials that could scratch or damage the leather. Apply conditioner to your seats regularly, at least twice a year, to keep them in top condition.
In conclusion, DIY leather conditioning is a cost-effective and easy way to keep your car seats looking their best. With the right tools and materials, you can follow a simple step-by-step guide to condition your seats regularly. By following our tips, you can achieve excellent results and keep your leather seats in top condition for years to come.
Sources:
https://speedvale.com/
https://www.amazon.ca/Automotive-Detailing-Tools/b?ie=UTF8&node=7420316011
https://www.canadacardetailing.com/
