
As a car enthusiast, I’ve always been drawn to the art of car detailing. It’s amazing how much difference a little bit of TLC can make for your ride. One aspect that is often overlooked, but vital in achieving that professional finish, is waxing.
Before you even think about applying any wax, it’s important to prepare the vehicle properly. This means washing and drying it thoroughly, ensuring there are no contaminants on the paintwork – such as dirt or grime – which could interfere with the effectiveness of the wax.
Next up: choosing your weapon! There are many types of waxes available on today’s market; however not all offer equal protection and shine enhancement properties. Researching different options online will help ensure you pick out one suitable for your needs.
When actually applying said chosen product remember less really does mean more here – use small amounts applied evenly across entire painted surface area each time before buffing off residue using soft microfiber towels .
Removing Wax Residue may seem like an unnecessary step but leaving excess product behind can lead to unsightly smears or streaks down body panels- so don’t skip this part!
Finally maintaining Professional Finish ensures longevity by keeping up regular washes with high-quality products designed specifically for automotive applications while avoiding harsh chemicals whenever possible – meaning DIY Car Detailers should be able enjoy their handiwork longer than most would expect!
Preparing the Vehicle for Waxing
Before diving into the actual waxing process, it’s important to properly prepare the vehicle for optimal results. This step involves thoroughly washing and drying the car, as any dirt or debris left on the surface can ruin a smooth finish.
Start by rinsing off loose dirt with a hose or pressure washer before using a high-quality car soap and soft sponge to gently scrub away grime. Be sure to pay close attention to difficult areas such as wheels, tires, and crevices where buildup tends to accumulate.
Once clean, dry the vehicle completely using microfiber towels or chamois cloths. Any remaining moisture can cause streaks in your wax job later on.
If you want an extra level of shine for your ride prior to applying wax – consider getting into some basic car detailing steps like claying & polishing which will remove contaminants from paint that are not removed during regular washes; polish helps remove minor scratches/swirl marks revealing brighter color underneath resulting in deeper gloss when applyig Wax afterwards
Now that your vehicle is ready for its final touch-ups let’s discuss how choosing the right type of wax plays an essential role in achieving professional-looking results at home.
Choosing the Right Wax
When it comes to choosing the right wax for your car, there are a few things to consider. First and foremost, you want to make sure that the wax is suitable for your car’s paint job. Some waxes may be too harsh or abrasive for certain types of paint.
Next, you’ll want to decide between natural and synthetic waxes. Natural waxes tend to provide a deeper shine but require more effort in application and have less durability compared to their synthetic counterparts which generally last longer with less effort needed during application.
Lastly, consider if other factors such as weather conditions or environmental elements play into what type of wax is ideal for protecting your vehicle from potential damage.
It’s important not just choose any old option when it comes time for car detailing because applying an improper product can result in swirl marks on the surface of your vehicle over time which will only cause headaches down road.
With these considerations made ,you can pick out the perfect waxing product so now let’s dive into how best apply this newly chosen product properly onto our cars!
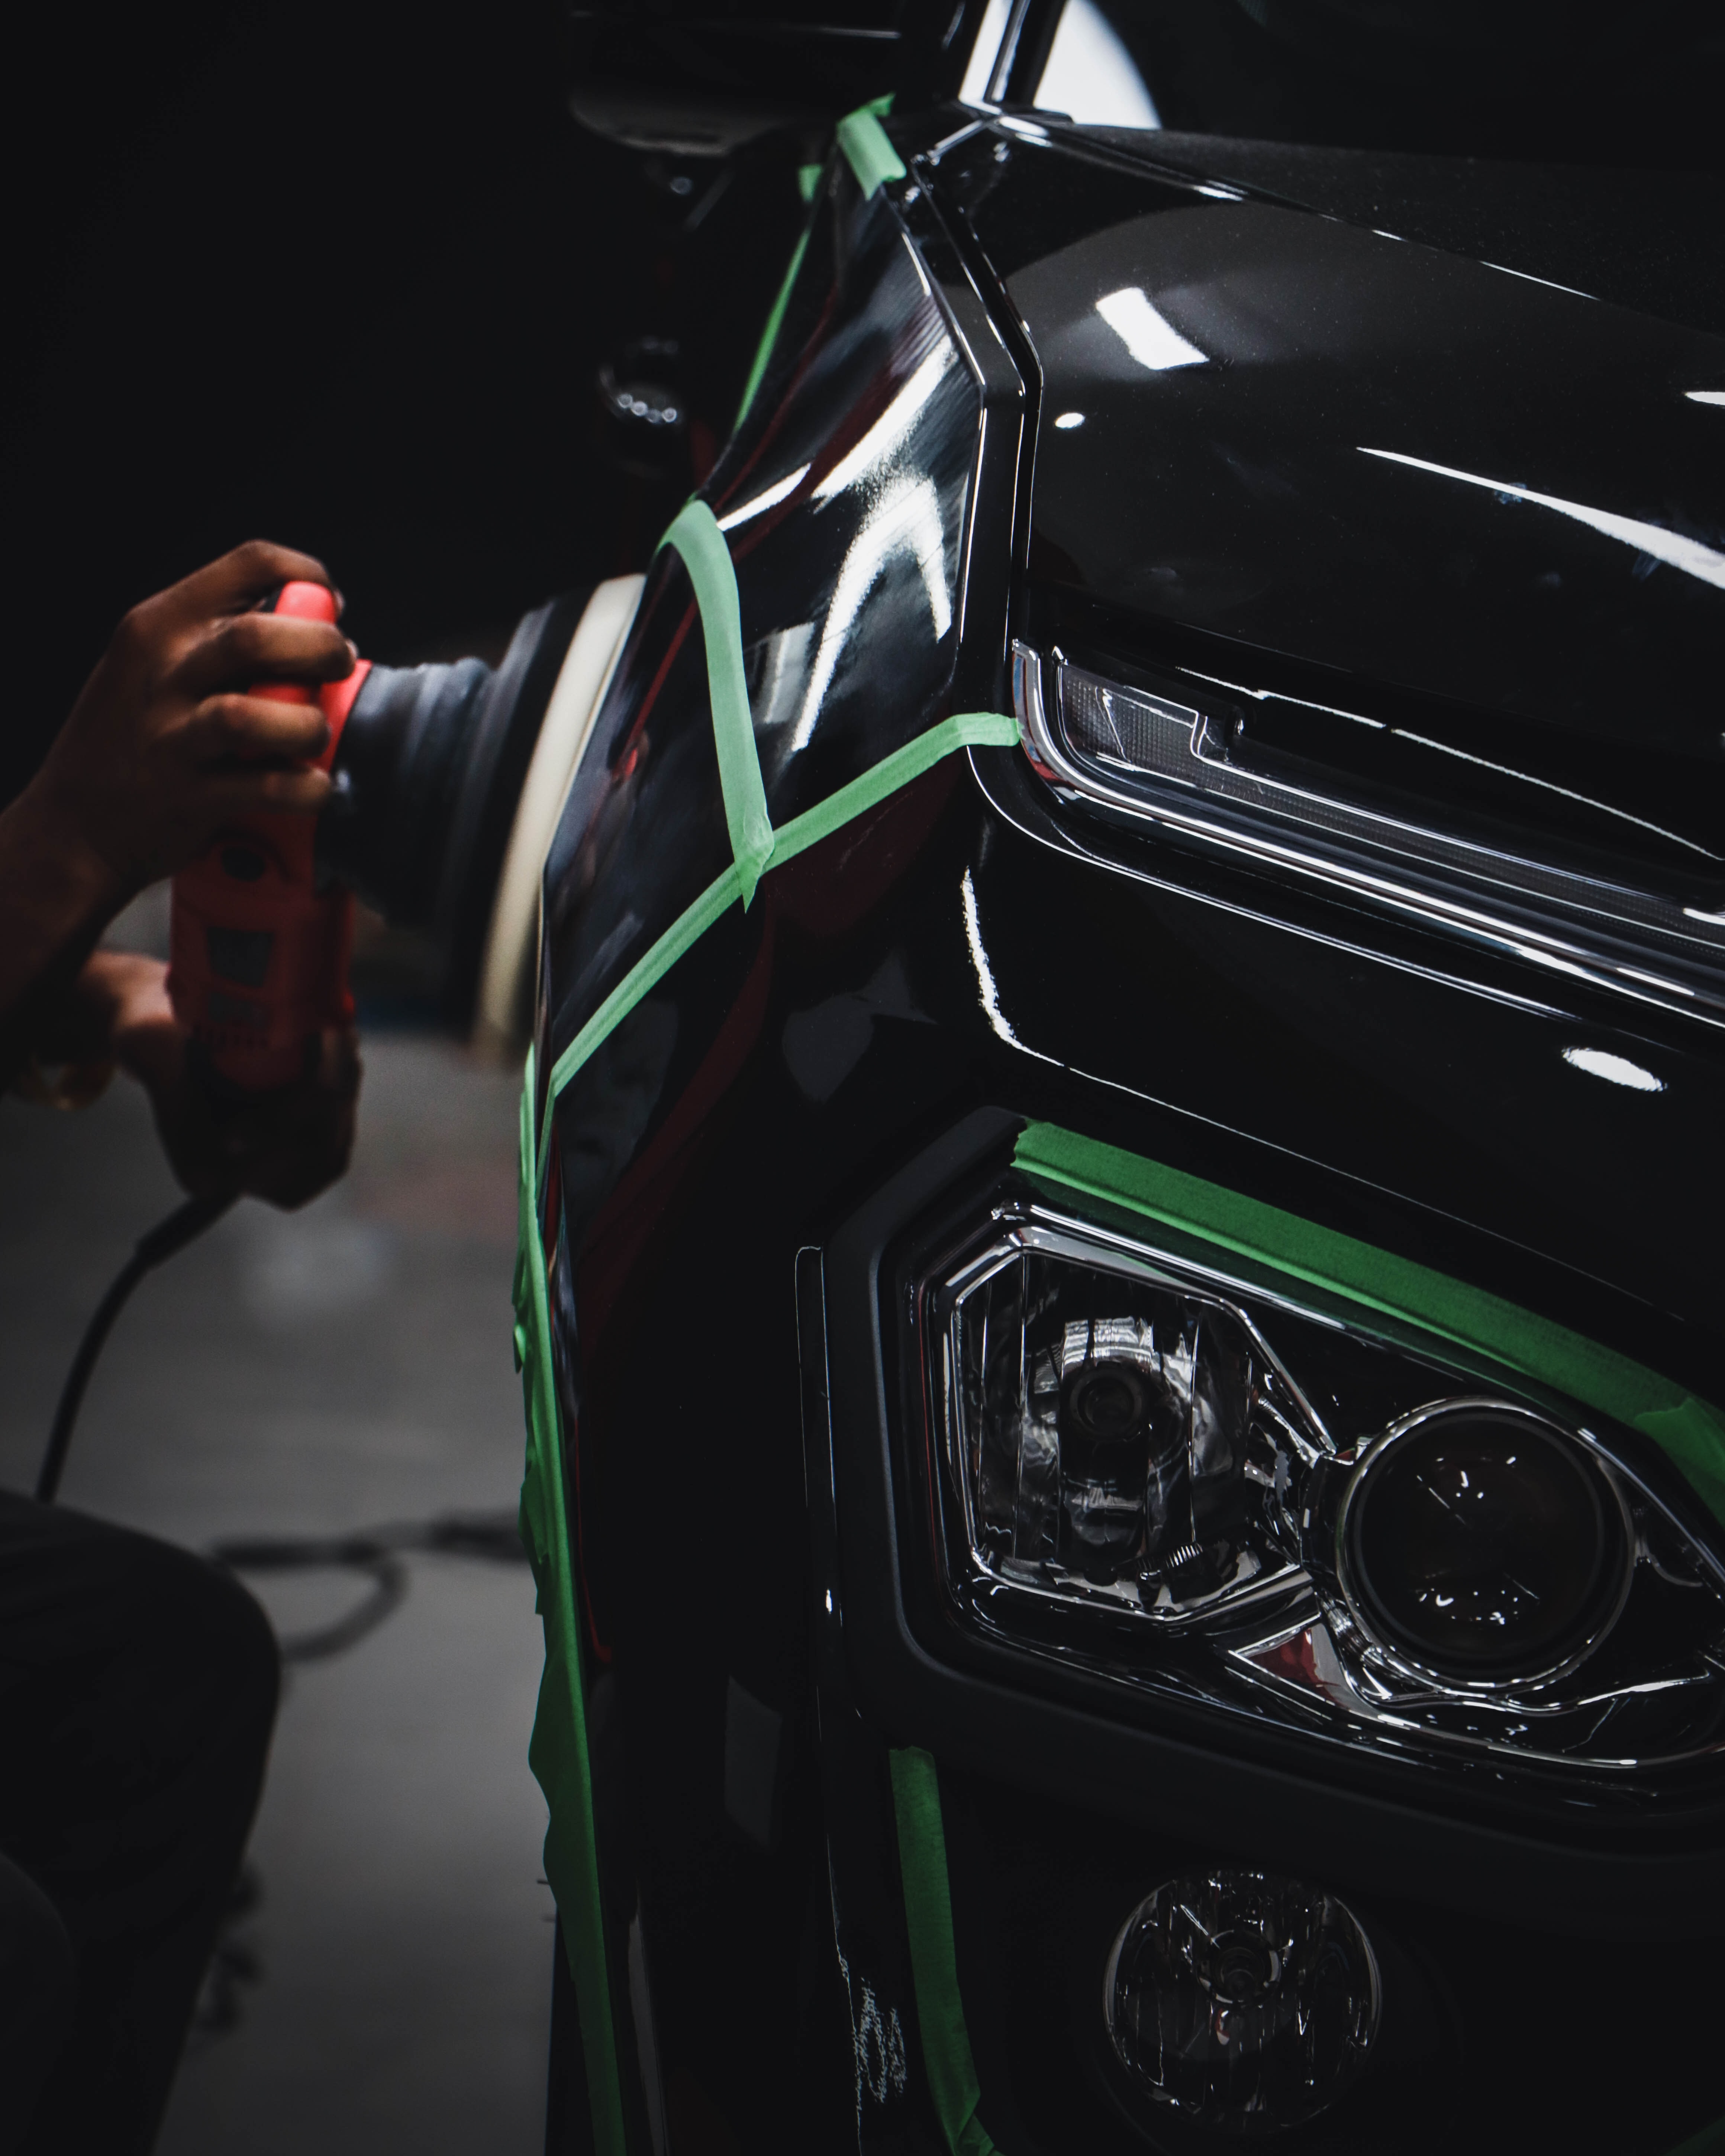
Image Credit: m8JQgb-FdFc
Applying the Wax Properly
Once the car has been properly prepped for waxing, it’s time to apply the wax. It is important to use a high-quality car wax that suits your vehicle’s paint job and finish. A good rule of thumb is to choose a natural or synthetic carnauba-based wax as they are known for providing excellent protection against UV rays, water spots, and other environmental factors.
When applying the wax, work in small sections at a time using an applicator pad or soft cloth. Apply the product with light pressure in circular motions until you achieve full coverage on each section before moving on to another part of your vehicle. Avoid getting any excess product on plastic trims or rubber seals as this can lead to staining over time.
It’s also worth noting that proper application techniques may vary depending upon the type of car detailing products being used; make sure you follow instructions provided by manufacturers carefully.
After finishing all parts of your vehicle with even coats of polish/wax let them dry completely (recommended waiting times will be mentioned by manufacturer). Finally remove residue from surface when done so without damaging paintwork which would defeat whole purpose!
Next up we’ll discuss how best remove remaining residues after polishing process – read more about “Removing Wax Residue” here!
Removing Wax Residue
One common issue that arises during car detailing is removing wax residue. While it’s important to thoroughly apply the wax, sometimes excess residue can be left behind and result in a cloudy or streaky finish.
To remove this buildup, experts recommend using a microfiber towel soaked in hot water and white vinegar solution (equal parts) to gently wipe away the excess wax. It’s crucial not to use too much force as this could damage your car’s paint job.
If you’re still having trouble getting rid of stubborn wax residue, there are specialized products available specifically for this purpose. Just make sure to follow the instructions carefully and avoid any abrasive cleaners that may scratch or harm your vehicle.
By taking care when applying and removing car wax, you’ll ensure a professional-looking finish every time. But how do you maintain this polished look? The next topic will cover tips on maintaining your newly detailed ride!
Maintaining the Professional Finish
Maintaining the Professional Finish
After taking the time to properly prepare your vehicle for waxing, choose the right wax, and apply it properly, it’s important to also take the necessary steps to maintain that professional finish. This will not only keep your car looking its best, but it will also help protect the paint and prolong the life of your wax job.
One of the most important things you can do to maintain your wax job is to regularly wash your car. This will help remove any dirt or debris that can accumulate on the surface and dull the shine of your wax. When washing your car, be sure to use a gentle soap that won’t strip away the wax, and avoid using abrasive scrubbers or brushes that can scratch the surface.
Another key step in maintaining your wax job is to avoid parking your car in direct sunlight for extended periods of time. UV rays can break down the wax and cause it to degrade more quickly, so parking in a shaded area or under cover can help protect your wax job.
In addition to regular washing and careful parking, it’s also a good idea to periodically check your wax job for any signs of wear or damage. If you notice any areas where the wax has started to wear away or become discolored, it may be time to reapply the wax to keep your car looking its best.
By taking these simple steps to maintain your wax job, you can enjoy a professional-looking finish for months to come. With the right preparation, wax choice, application technique, and maintenance, you can achieve a showroom shine right in your own driveway.
In conclusion, DIY car waxing can be a rewarding and cost-effective way to keep your car looking its best. By following these tips for preparing, choosing, applying, and maintaining your wax job, you can achieve a professional finish at home without breaking the bank. Whether you’re a car enthusiast looking to show off your ride or just want to keep your daily driver looking clean and polished, these tips can help you get the results you want. So grab your supplies and get to work – your car deserves a little TLC!
Sources:
https://www.cleendetailing.com/
https://speedvale.com/
https://www.canadacardetailing.com/
