
As a car enthusiast, I always wanted to learn how to give my ride that professional shine without breaking the bank at a detailing shop. After some research and practice, I’ve discovered DIY buffing techniques that can get your vehicle looking like it just came off the showroom floor.
To start with, you’ll need tools such as an electric buffer or polisher along with polishing pads and compounds suitable for your paint type. It’s important to read labels carefully and select products appropriate for your specific make and model.
Once you have everything ready to go, follow these steps: thoroughly wash the exterior of your car before beginning; apply compound using circular motions on various sections; use different pads depending on whether you’re removing scratches or going for a high-gloss finish; repeat process until desired results are achieved.
By following this step-by-step guide correctly while paying attention not only to what works but also avoiding common mistakes such as applying too much pressure when buffing out scratches – anyone can create their own professional-looking finish in no time!
Finally, remember some tips & tricks from experienced detailers including keeping equipment clean between uses (to avoid contamination), correcting any issues quickly if they arise during application rather than waiting till later stages which may require more work/time/expense down-the-line-all leading up towards having perfect results after every session!
Tools and Supplies Needed for DIY Buffing
To achieve a professional finish when buffing at home, it’s important to have the right tools and supplies on hand. Here are some key items that you’ll need:
1. Buffing machine – A rotary or dual-action polisher will make your job much easier than trying to do everything by hand.
2. Buffing pads – There are different types of pads for various stages of polishing, such as cutting, polishing and finishing.
3. Polishing compounds- These come in varying abrasiveness levels depending on how severe the scratches or imperfections are in your paintwork.
4. Microfiber towels – Essential for wiping away excess polish residue after each stage of buffing.
5. Masking tape – This is used to protect certain areas around the car from accidental damage during the detailing process
6. Cleaning products – Before starting any kind of car detailing activity like buffing your cars paint always clean it with soap & water then rinse off properly so there wont be any dirt particles while using a buffer since they may cause unwanted scratch marks
Once you’ve got all these materials together, you’re ready to start working towards that sought-after glossy finish! In order to get started with DIY buffing techniques at home check out our next topic: “Step-by-Step Guide To Buff Cars At Home”.
Step-by-Step Guide to Buffing Cars at Home
Once you’ve washed and dried your car thoroughly, it’s time to move on to the buffing process. Here is a step-by-step guide for those new to car detailing:
1. Choose the right buffer: There are two types of buffers – rotary and dual action. Dual action buffers are recommended for beginners as they’re easier to control.
2. Select the correct pad: Buffing pads come in different levels of abrasiveness depending on how much correction your paint needs.
3. Apply compound/polish: Use a foam applicator pad or microfiber towel to apply polishing compound onto the pad before applying it evenly across sections of your vehicle’s exterior.
4. Start with speed setting one when using rotary buffer at first then adjust accordingly
5. Begin buffing small areas by placing the machine flat against area you want polished, moving slowly back-and-forth until desired shine is achieved
6.Rinse off any excess polish with water after finishing each section being worked on
7.Repeat this process throughout entire vehicle surface including all windows if needed but don’t go overboard!
By following these simple steps, anyone can achieve professional-grade results from their own garage! Stay tuned for our next article where we will discuss “Creating a Professional Finish with DIY Buffing”.
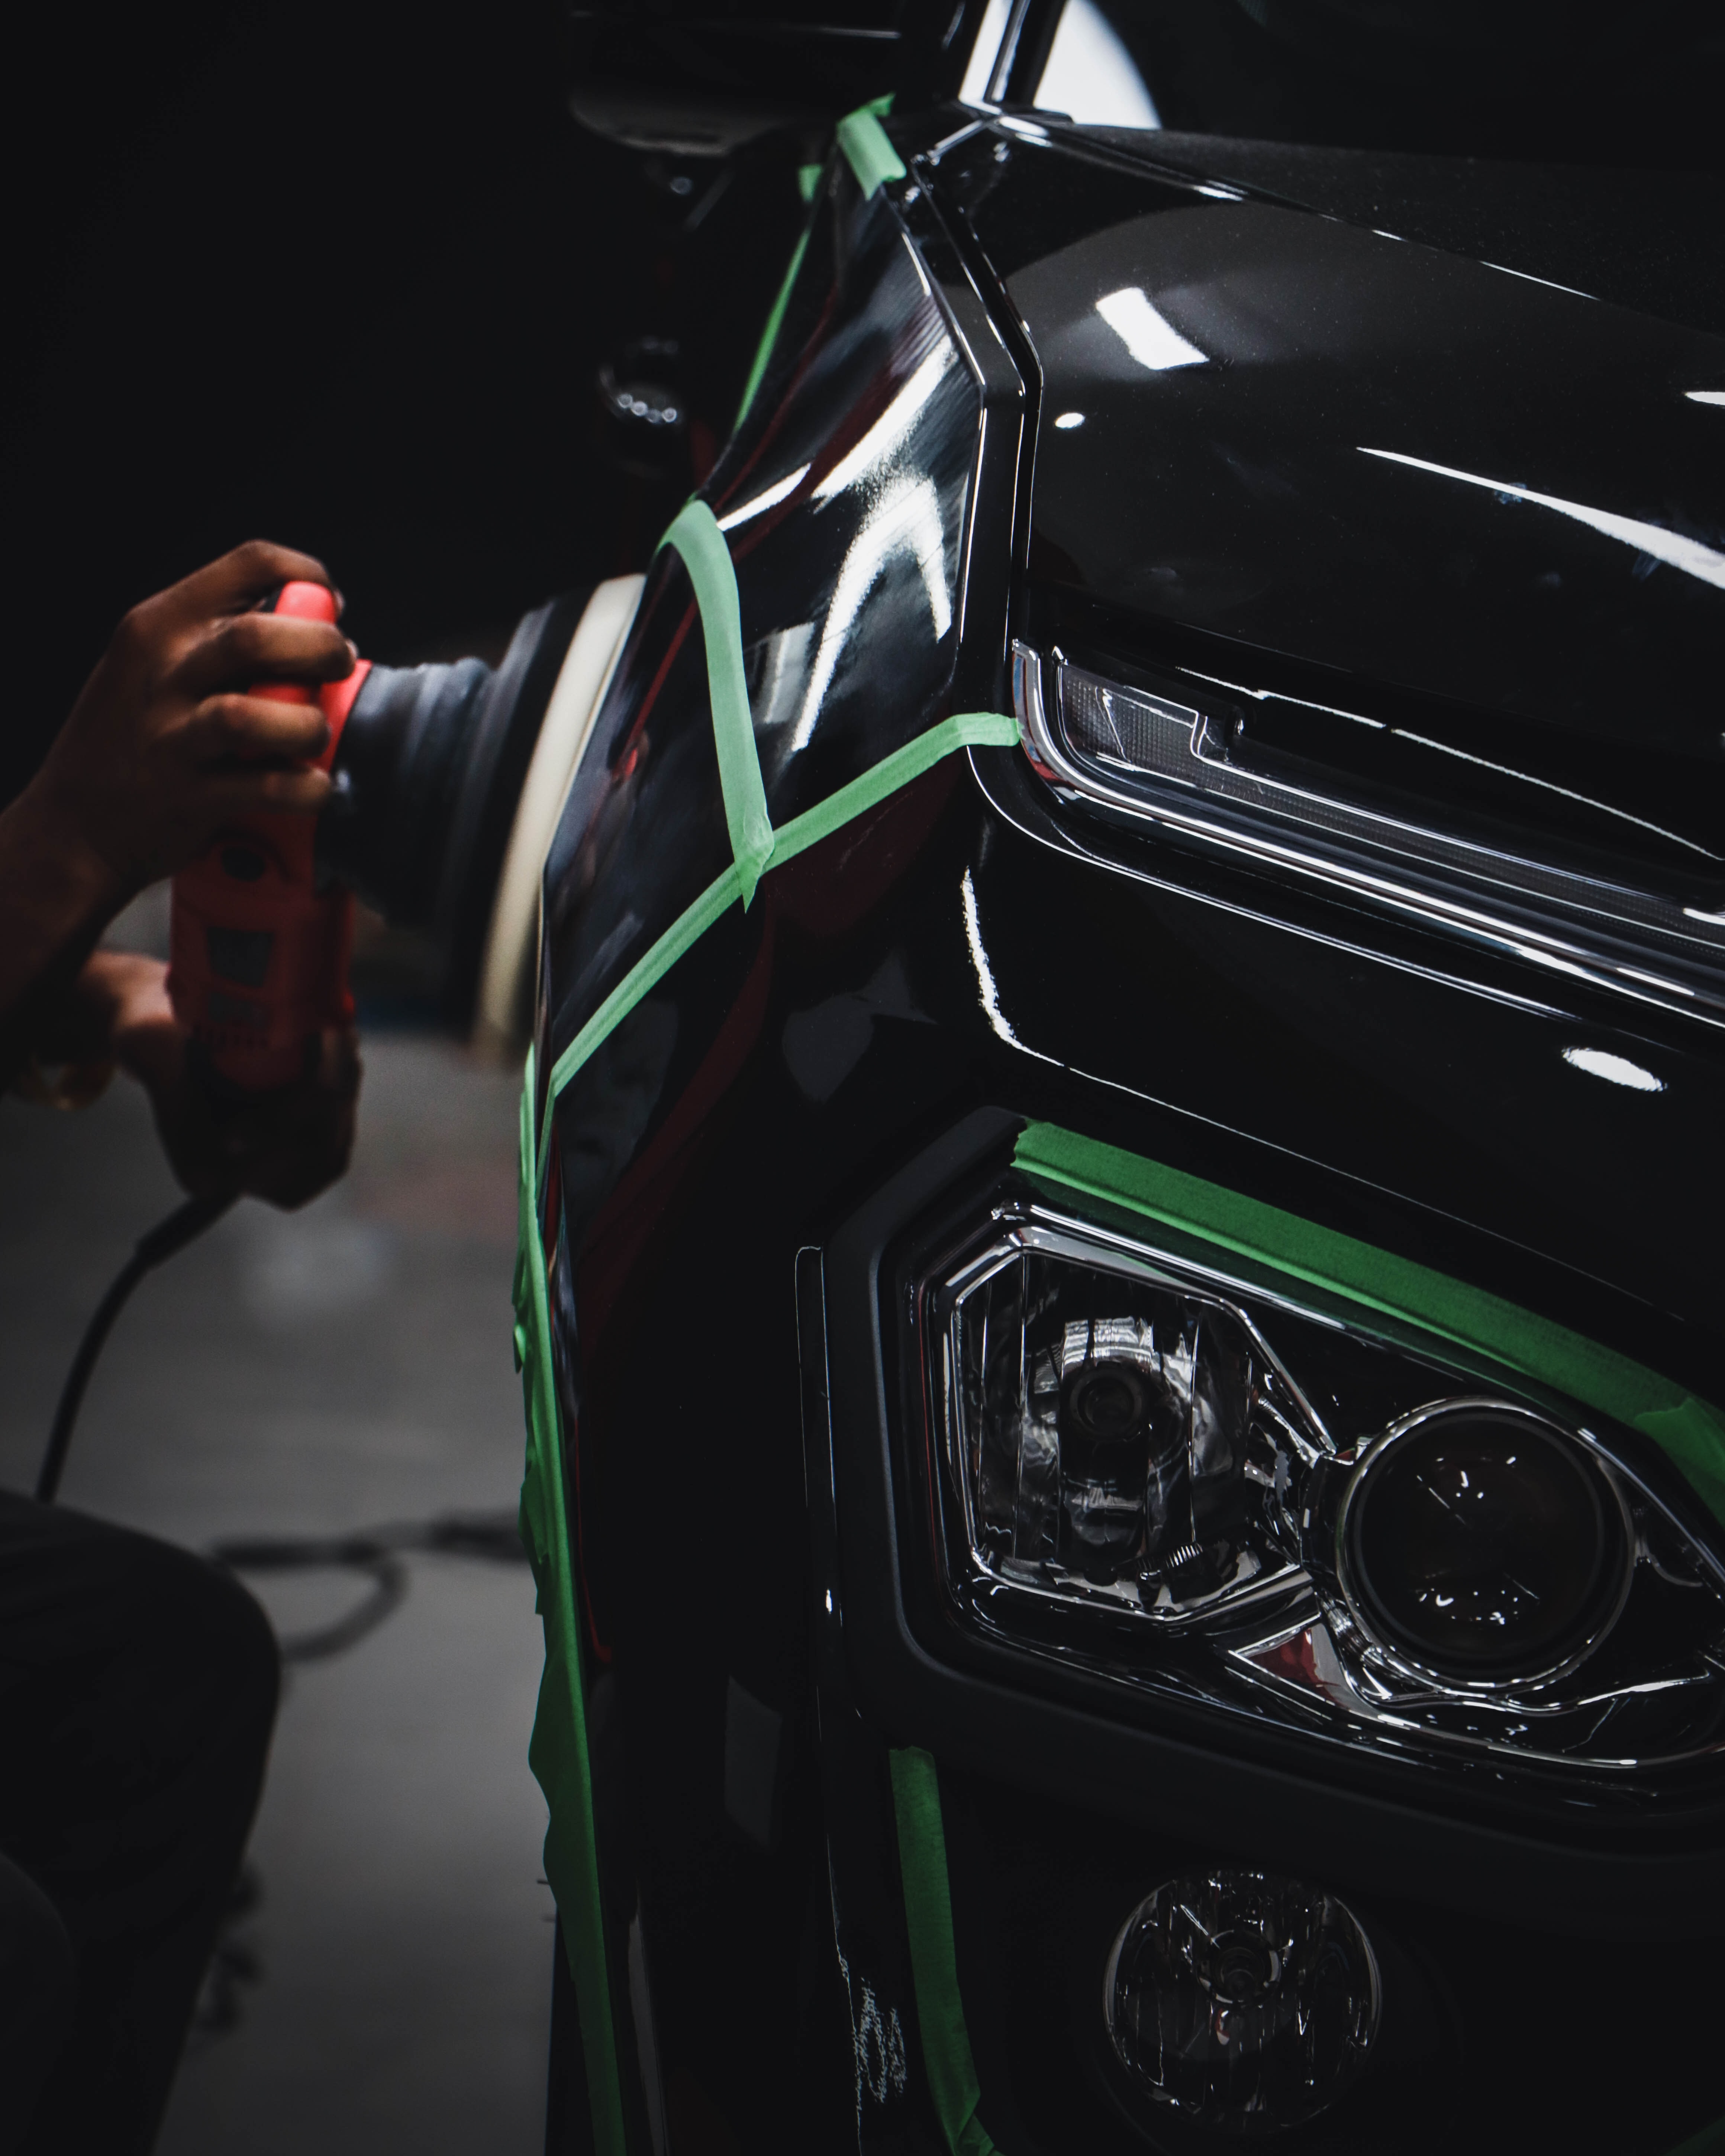
Image Credit: m8JQgb-FdFc
Creating a Professional Finish with DIY Buffing
Achieving a professional finish at home requires proper buffing techniques. Buffing is the process of smoothing and shining a surface using an abrasive material such as polishing compound or wax. It helps to remove scratches, swirl marks, oxidation, and other imperfections that can make your vehicle look dull.
Before starting the buffing process, it’s important to clean the surface thoroughly with soap and water or car detailing products. This will ensure that any dirt or debris doesn’t get trapped in between your buffer pad and the paintwork.
When choosing a buffer pad for your machine, select one with medium firmness if you’re working on light scratches or swirls. For more significant damage like deep scratches or heavy oxidation use firmer pads.
Start by applying small amounts of polish onto the buffing pad before turning on the machine; this ensures even distribution across all areas being worked on. Move back-and-forth slowly over each section until you achieve optimal shine levels – do not apply too much pressure while doing so!
After finishing up all sections desired (or after spending ample time), wipe off any excess product using microfiber towels – leaving behind only gleaming surfaces!
By following these steps carefully, achieving stunning results at home is possible! With DIY car detailing becoming increasingly popular among many individuals who want to save money while getting their cars looking great again- our next topic dives into tips & tricks specifically suited towards those interested in taking care of maintenance tasks themselves!
Stay tuned for some expert advice aimed at helping newbies gain confidence when approaching their vehicle cleaning needs head-on without breaking bank accounts along-the-way!
Tips and Tricks for DIY Car Detailing
When it comes to car detailing, buffing is an essential step in achieving a professional finish. However, many DIYers struggle with this process and end up with unsatisfactory results. Here are some tips and tricks for successful DIY car detailing through buffing:
1. Choose the right compound: The first step to successful buffing is choosing the right compound for your specific paint type and condition.
2. Use a proper buffer: Invest in a quality buffer that suits your skill level and needs.
3. Start slow: Begin at low speeds when applying compounds or polishes onto the surface of the vehicle until you get comfortable with handling the machine properly.
4. Work in sections: Break down larger areas into smaller manageable sections so that you can focus on each area without missing any spots.
5. Don’t over-buff: Over-buffing can lead to unwanted swirls or scratches on your car’s paintwork – be careful not to apply too much pressure while using buffers as well!
By following these tips, anyone can achieve great results from their own home garage! Keep practicing, learning new techniques along the way, and soon enough you’ll become an expert at all things related to car detailing!
Next up we will discuss how common problems encountered during DIY Buffing may be resolved easily by taking simple steps!
Troubleshooting Common DIY Buffing Problems
DIY buffing is a great way to get a professional finish on your car without having to spend a lot of money. However, like with any DIY project, problems can arise that can ruin all your hard work. In this section, we will discuss some of the most common DIY buffing problems and how to troubleshoot them.
One of the most common problems that people face when buffing their car is swirl marks. These are circular marks that are left on the surface of the car after buffing. They are usually caused by using the wrong type of pad or applying too much pressure. To avoid swirl marks, make sure you use the right type of pad for your car and apply even pressure when buffing.
Another problem that people face is holograms. These are wavy lines that appear on the surface of the car after buffing. They are usually caused by using too much polish or applying too much pressure. To avoid holograms, make sure you use the right amount of polish and apply even pressure when buffing.
Finally, some people experience buffing marks. These are marks that are left on the surface of the car after buffing. They are usually caused by using the wrong type of pad or applying too much pressure. To avoid buffing marks, make sure you use the right type of pad for your car and apply even pressure when buffing.
In conclusion, DIY buffing can be a great way to get a professional finish on your car. However, it is important to have the right tools and supplies, follow a step-by-step guide, and know how to troubleshoot common problems. With these tips and tricks, you can create a professional finish with DIY buffing and save yourself money in the process. So, get out there and start buffing your car!
Sources:
https://www.amazon.ca/Automotive-Detailing-Tools/b?ie=UTF8&node=7420316011
https://www.autotrader.com/car-tips/how-long-detail-car#:~:text=The%20amount%20of%20time%20required,what%20needs%20to%20get%20done.
https://carzilla.ca/
